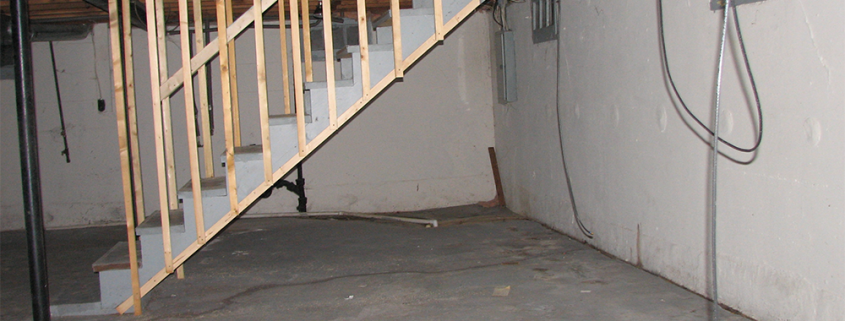
Planning Your Basement Reno
Converting your basement from a musty cellar to additional living space can be a good alternative to buying a larger home. And with proper planning, you could help the job proceed more smoothly, and even save thousands of dollars along the way.
(The following suggestions are not intended as guidance for creating a rental unit, since municipal by-laws for basement apartments are beyond the scope of this article.)
The first question to ask is if your basement has adequate height. Generally, you would want a minimum of 6’6″, ideally unobstructed by overhead piping or ductwork. If not, you’ll want to consider digging out the basement.
There are two methods used to maintain support for the house when lowering the basement floor, underpinning and concrete bench footings. Underpinning involves excavating beneath the footing in alternate 2 to 4 foot sections, then pouring a new footing to the desired depth of the new floor. If you have a shared wall (as in semi-detached or attached houses), written permission from the neighbours is required since this method disturbs the soil beneath the common foundation wall.
In the concrete bench method, one inch of ledge is left out from the base of the footing for each inch the floor is lowered beyond that point. In effect, a bench is created around the perimeter of the foundation walls.
Both methods are structurally sound but offer different advantages. Underpinning is preferable for looks and maximum use of space, since the depth of the floor will be consistent all the way to the edge of the walls; however, this technique is substantially more expensive.
Typically, lowering the floor one and a half feet by underpinning costs about $160- $175 per linear foot. Using the concrete bench method, the cost is about half: $80-90 per linear foot. But there is a trade-off: the maximum you can go down using the bench method is one foot. These prices usually include re-doing all drain connections, modifications to support posts or walls and repouring the concrete floor. Before you begin digging, verify the depth of the main waste drainage pipe running beneath the house, since it could limit how far down you can go. Sometimes, this pipe can be lowered if it is in the way, though the cost of the job may increase significantly. As well, consider the fact that lowering the floor may result in wet basement problems. In some cases, it may be necessary to install an interior foundation drain. If you’re planning to add a bathroom, take a look at the plumbing network in the house. In newer homes with roughed-in plumbing, the layout is obvious. Otherwise, consider the location of the main stack, which is the vertical pipe that drains and also vents gases from the fixtures in the bathroom. You can either locate the bathroom close enough to an existing stack to tie into it; or run a new stack to accommodate a different location. Consider, too, the amount of work required to tie in to the drainage plumbing. If the existing floor has to be dug up and a new pipe laid, the shorter the distance, the cheaper it will be.
Consider relocating any ducts or water pipes if they interfere with headroom. If they can’t be recessed into the space between joists, try to shift them to the perimeters of the rooms. Don’t forget to plan for access to the valves and services in the basement, such as the main water shut-off, the interior shut-off for the garden tap, the electrical panel, the utility meters, telephone boxes and electrical junction boxes. And make sure there is good ventilation to the heating system and hot water tank, and allow access for servicing this equipment. Lastly, consider installing a suspended ceiling. It will allow you easy access to the wiring and
plumbing above it without having to dismantle and repair drywall.
Happy renovating!


